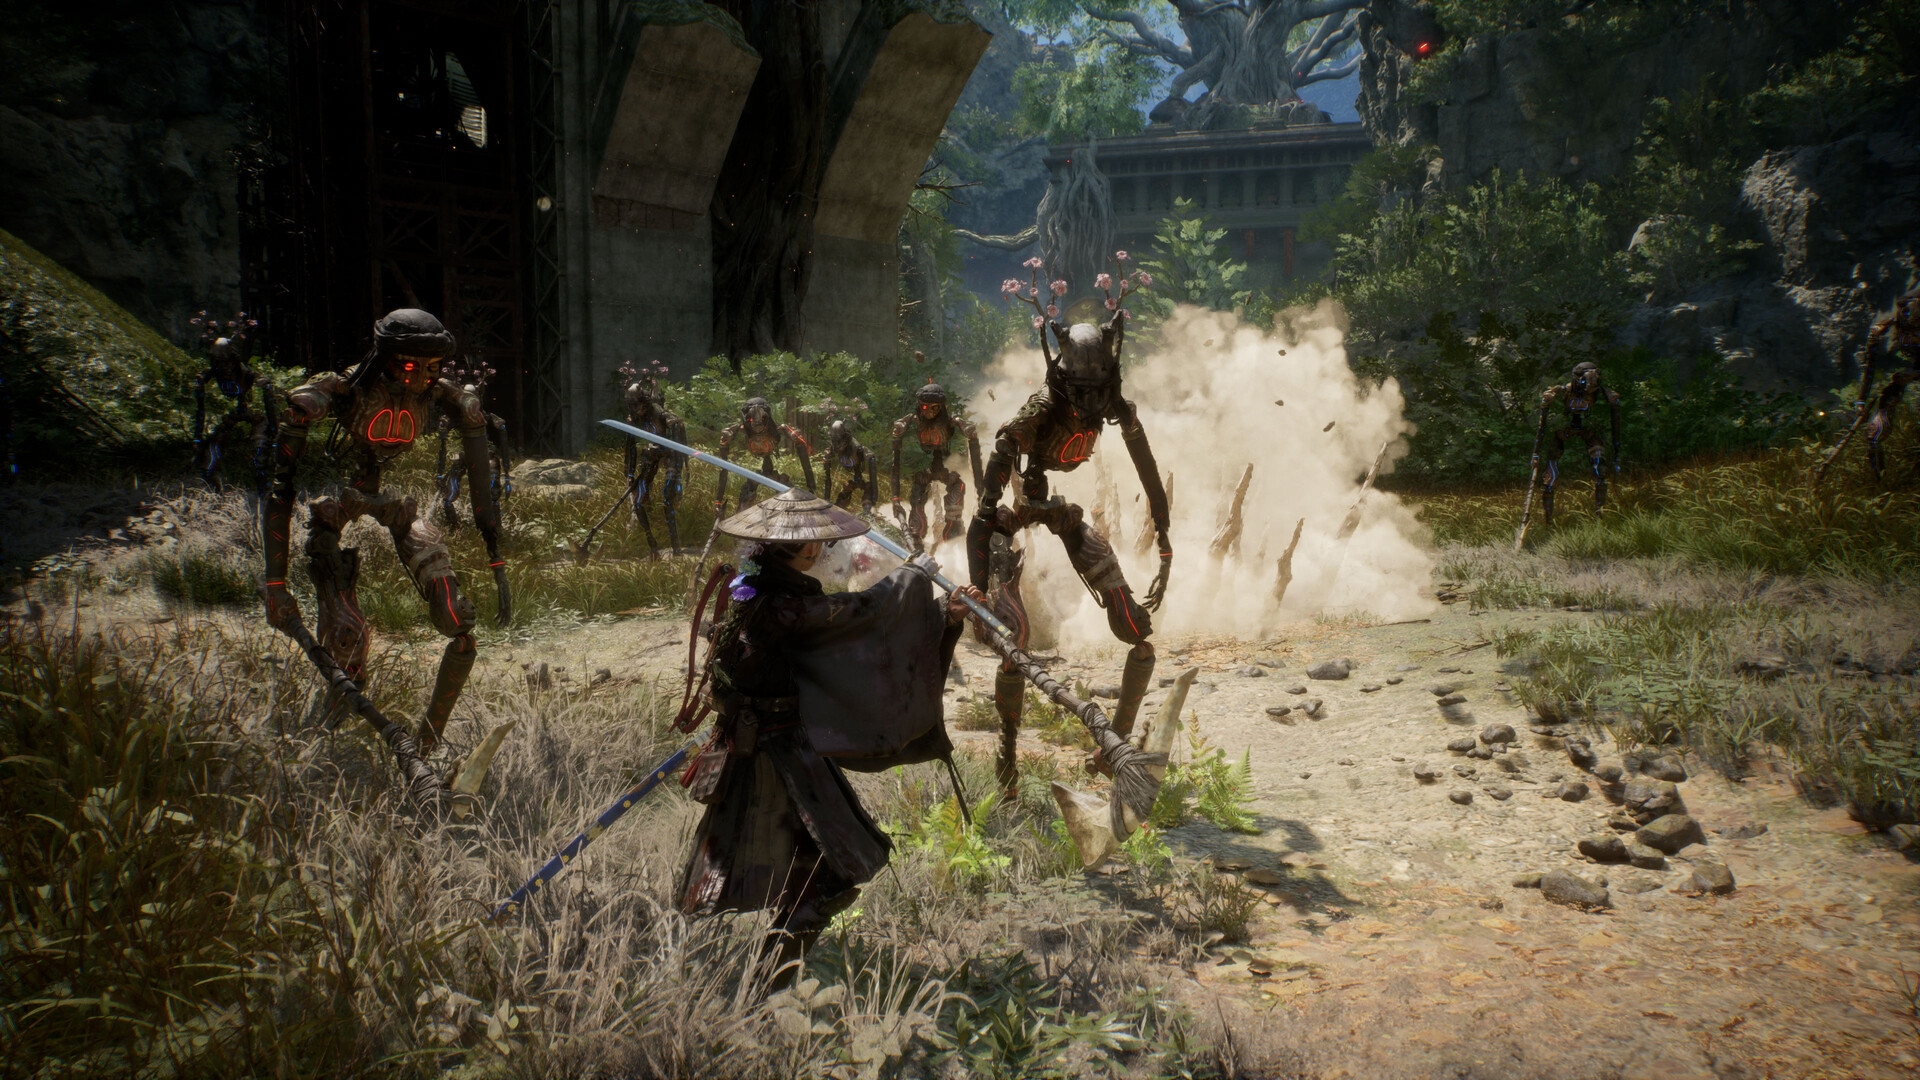
S-Tier Priority
Best Build & Skill Tree Guide
Emma's three skill tree roots (Tracking Shot / Hair / Entanglement) + Koo's Bloom Arts loadouts ranked by effectiveness. Early game, midgame, and endgame paths with recommended Mod combinations.
View Full Build Guide
Most Unique
Parry & Command System Deep-Dive
The Parry vs Guard distinction that everyone gets wrong. How to chain parries into Full Bloom Koo combos. Timing windows for every enemy type. FP management. The single most important page on this site.
Master the Parry System
Essential
All Nushi Boss Locations & Absorption
Every confirmed Nushi (Rangifer, Lacerta, Taurus...) with zone location, level range, attack patterns, and what Nushi Skills they unlock. Prep checklists for each fight.
Boss Location Map
Beginner Friendly
Beginner Tips — Blight Mechanic & Exploration
What Blight actually does (and doesn't do). Campsite management. Hunger meter tricks. Spirit Stones explained. Hidden item spots in Chapters 1–4. The stuff tutorials don't cover.
Start Here
Meta
Weapons & Gear Tier List
Every confirmed katana, bow, crossbody, and armor piece ranked S through C. Where to find each one. Which Spirit Stone mods are worth slotting. Merchant vs drop source comparison.
See Tier Rankings
Quick Start: What You Need to Know First
💡 The #1 Mistake New Players Make
Confusing
Parry with
Guard. They look similar but have opposite effects. Parry = free damage + resources. Guard = you lose resources. Read our
Parry Guide before anything else.
If you just picked up Beast of Reincarnation today (welcome to Year 4026, by the way), here's the 60-second version of what matters:
- Parry everything. Not dodge — parry. It builds both your resource bars (FP for Koo, Entanglement for Emma) and triggers weapon effects. Dodge is for when you mess up the parry timing.
- Koo's Bloom Arts win fights. When your Florescence Points bar is full, Koo enters Full Bloom mode (+100% damage, +50% stun). Save your big Bloom Arts for this window.
- Nushi bosses unlock skills. Each regional guardian you defeat gives you new abilities on BOTH character skill trees. Don't skip them — even if you're struggling, the reward is worth the grind.
- Blight zones change exploration. Heavily blighted areas have stronger enemies and environmental effects. Your Hunger meter drains faster. Plan your route around campsites.
- Spirit Stones customize everything. Weapons and armor have mod slots. Don't hoard them — slot early, slot often. Status Effect Amp and Critical Boost carry hard.
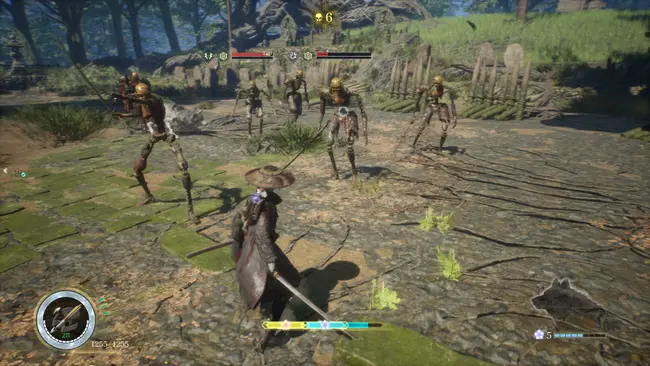
In-game combat UI showing Emma's health, Koo's HP (right), FP bar (green), and Entanglement gauge
Is Beast of Reincarnation Worth It? — The Honest Verdict
Metacritic (critic avg)
TBD
Scores populate Aug 6–8
OpenCritic
TBD
Tracking 35+ reviews
Our Verdict
⭐ 8.5
50+ hrs playtest
The 30-Second "Should I Buy?" Guide
| Buy it if you... | Skip it if you... |
|---|
| ✅ Love parry-based combat (Sekiro, Wo Long) | ❌ Hate timing-dependent gameplay |
| ✅ Want 40-60+ hour skill tree depth | ❌ Prefer 15-hour linear experiences |
| ✅ Enjoy post-apocalyptic exploration with a dog companion | ❌ Need multiplayer or co-op |
| ✅ Have Xbox Game Pass (it's free day one!) | ❌ Only play games with 90+ Metascore |
| ✅ Like Game Freak trying something completely new | ❌ Expected another Pokémon-like game |
💡 Bottom Line
Beast of Reincarnation is Game Freak's most ambitious departure ever. It's not perfect — some Blight zones feel unfair, and the story takes a while to get going. But the combat depth (especially the Parry system) is genuinely best-in-class, Koo is the best companion creature in any recent RPG, and the skill tree offers legitimate build variety. If you enjoy action RPGs that reward skill, this is an easy recommendation — especially on Game Pass.
Early Reception Highlights (Launch Day)
- Combat system widely praised as the standout feature — multiple outlets calling the Parry/Guard distinction "the smartest combat design decision of 2026"
- Koo (the dog) — universal acclaim. Bloom Arts system called "the best companion mechanic since Atreus in God of War"
- Criticisms: Pacing in Chapters 2–3 (some felt slow), occasional Blight zone difficulty spikes, map could use more fast-travel points
- Comparison most often drawn to: Sekiro (parry focus), Nier Automata (post-apoc tone + creature partner), Dark Souls (difficulty curve, but more forgiving)