Parry vs Guard: The #1 Thing Tutorials Don't Explain Properly
I'm putting this right at the top because this single misunderstanding is responsible for 80% of "this game is too hard" posts on Reddit.
Game Freak's official terminology calls it "a 'parry' (just guard)" — note the parenthetical. That's because there are two defensive actions that look similar but behave like opposites:
| PARRY (Just Guard) | GUARD (Regular Block) | |
|---|---|---|
| How | Press guard button at the exact moment before impact | Press guard button too early or hold it |
| Damage Taken | ZERO | Reduced (based on Entanglement) |
| FP Gained? | YES (+FP) | No |
| Entanglement | Gained (not consumed) | CONSUMED |
| Weapon Effect? | Triggered (Vampiric Blade, etc.) | Not triggered |
| Stagger buildup | Significant | Minimal |
| Riposte available? | Yes (counter-attack window) | No |
Guard = you LOSE resources and still take damage.
If you're holding the guard button waiting for attacks to hit you, you're GUARDING, not PARRYING. And you're actively making every fight harder for yourself.
The visual tell for a successful parry is distinct: a bright flash/spark effect on the point of impact plus a satisfying sound cue. A Guard looks and sounds dull/muted by comparison. Once you learn to recognize the difference by ear, your gameplay will improve dramatically.
Timing Windows: What You Can (and Can't) Parry
General Enemy Types
| Enemy Type | Parryable Attacks | Window Feel | Tips |
|---|---|---|---|
| Malefact (basic) | Swipes, lunges, bites | Medium (~0.3s) | Great for practicing. Their telegraphs are obvious. |
| Elite Malefact | All basic + charged strikes | Tight (~0.2s) | Charged attacks have longer windups but tighter windows. Watch for the shoulder-tension animation. |
| Golem | Slams, overheads, thrusts | Wide (~0.4s) | Slow but hit HARD if you miss. Easiest parry targets once you learn their tells. |
| Heavy Golem | Most melee attacks | Medium-Wide | Their slow speed is forgiving. Use them to build FP between tough fights. |
| Nushi (Bosses) | Most phases; some un-parryable | Varies by move | Each Nushi has 2-3 un-parryable grabs/AoEs. Learn which ones and dodge those specifically. |
Attacks You CANNOT Parry
- Grab attacks — These have a specific grab animation (arms extending, lunge-grab). Must dodge/roll away. Attempting to parry a grab results in taking full damage.
- Environmental Blight damage — Standing in blighted ground deals DoT that can't be parried. Move out.
- Falling debris / trap damage — Environmental hazards are un-interactable.
- Certain Nushi phase-transition moves — Cinematic attacks where the boss becomes invulnerable and executes a scripted sequence. These aren't meant to be parried; they're "dodge or survive" moments.
- Projectile spam (some cases) — Rapid-fire projectiles from certain enemies can be parried individually but it's usually not worth the risk. Dodge instead.
FP (Florescence Points) & Bloom Arts: Your Real Damage Engine
Here's the thing nobody tells you about Beast of Reincarnation: Emma's sword damage is baseline. Koo's Bloom Arts are your actual DPS.
How FP Works
- You start each encounter at 0 FP (or whatever you had remaining — it carries between fights in the same zone).
- Each successful Parry adds FP (Guard adds nothing).
- Some enemies give more FP than others (Elites and Nushi give large chunks).
- Opening the command menu doesn't cost FP — only executing a Bloom Art does.
- FP degrades slowly over time when not in combat (prevents hoarding across zones).
Full Bloom Mode: The Win Condition
When your FP bar hits 100%, Koo enters Full Bloom:
- +100% damage on all Bloom Arts
- +50% stun/Daze buildup
- Visual change: Koo glows, flower effects intensify
- Lasts until you spend enough FP to drop below max (so you can sustain it through multiple commands if you're fast)
Command Menu: Using Koo Effectively
The command menu is your tactical pause button. Here's how to use it without breaking combat flow:
Basic Operation
- Open: Triangle / Y / F (slows time)
- Select: Directional input or cursor to choose Bloom Art
- Confirm: Button press → Koo executes (time resumes)
- Cancel: Back button / B / Esc (no FP spent)
Advanced Command Tips
- Pre-select during openings. When you knock an enemy down or they're in a long animation, open the command menu and queue up your next art. Time stays slow until you confirm, so take a literal second to pick the right tool.
- Don't panic-open. New players tend to mash the command button when overwhelmed. This burns time without gaining advantage. Only open when you've created space (via parry, knockback, or dodge).
- Koo has position too. Some Bloom Arts (like Higanbana: Bloom) originate from Koo's position, not yours. If Koo is far from the target, your AoE will miss. Call Koo closer (he generally follows you but lags slightly in big encounters).
- Healing isn't cowardly. Healing Bouquet during Full Bloom heals for MASSIVE amounts. If you're below 50% HP and have Full Bloom active, healing > damaging. You can't DPS if you're dead.
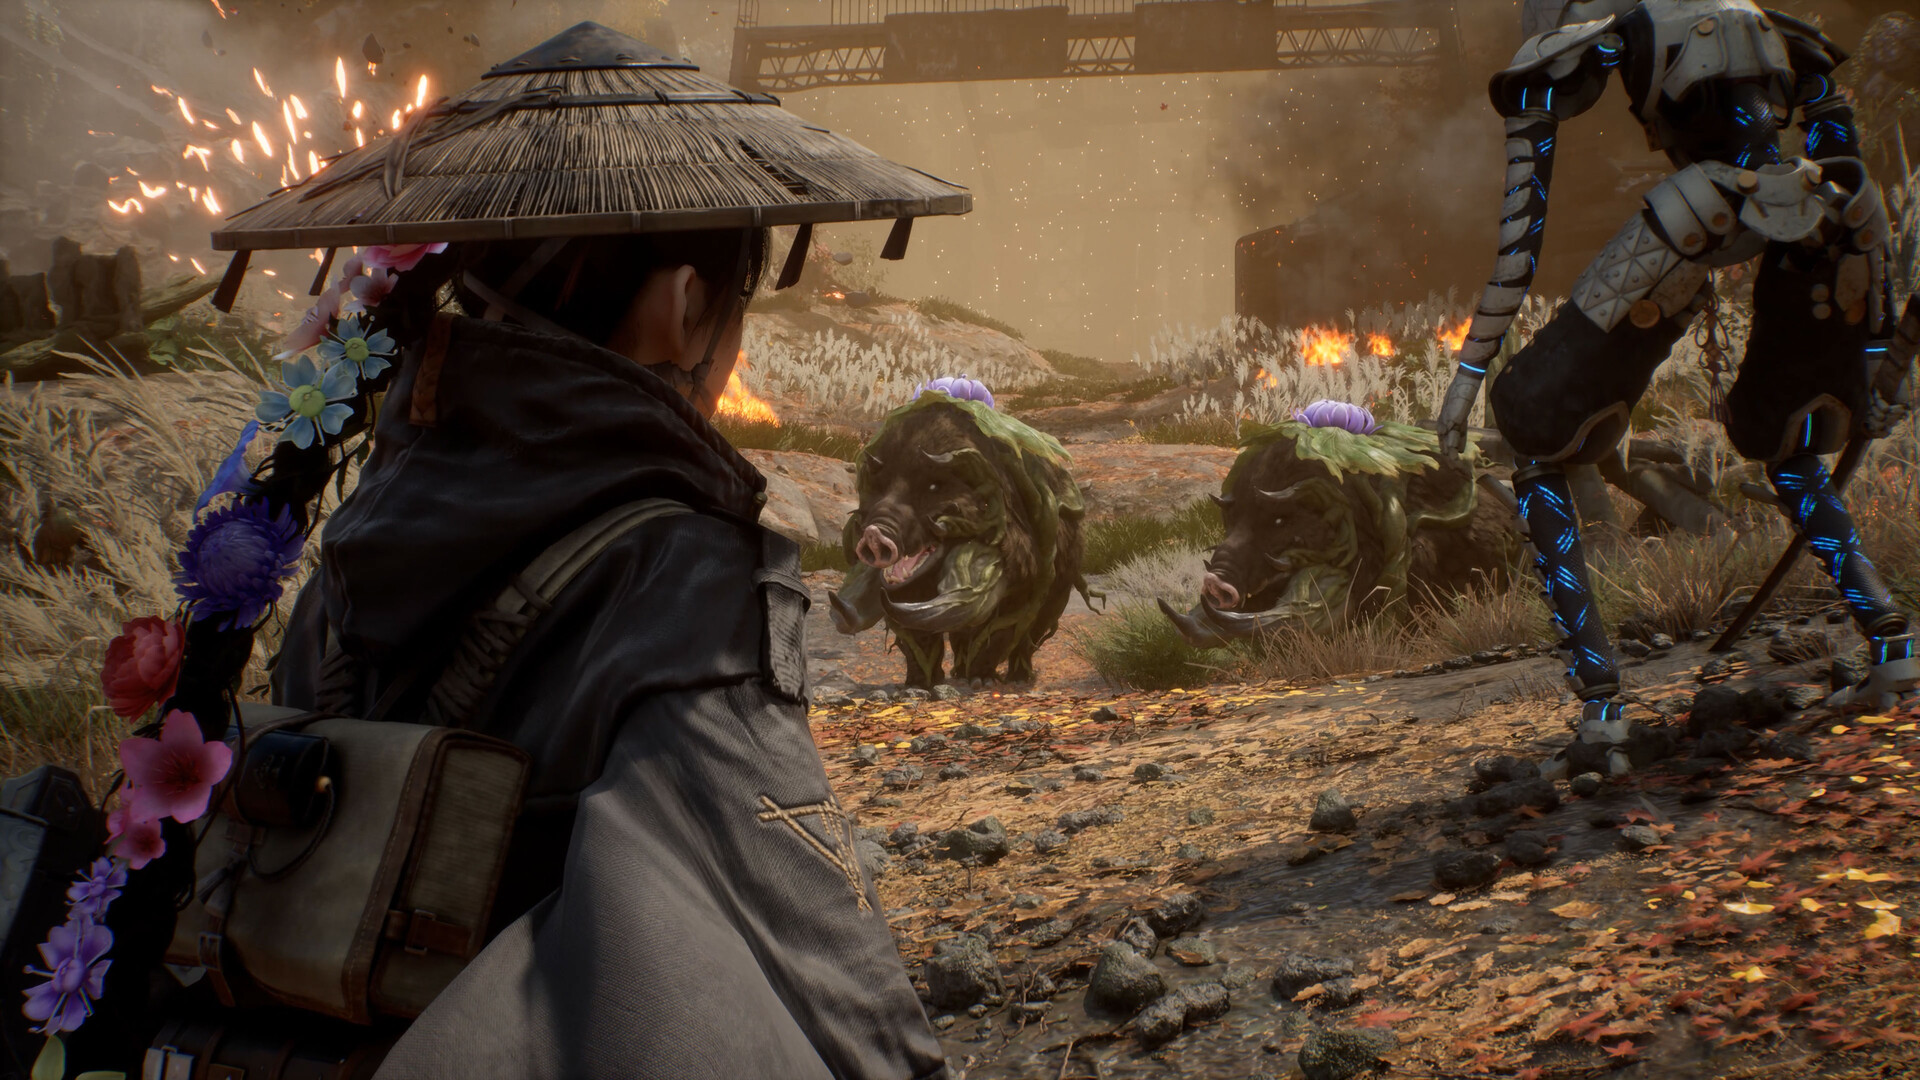
Combat in action: Emma engaging robotic Malefact enemies. Parry their attacks to build FP for Koo's Bloom Arts.
Combat Demo: Koo in Action
Koo (the Blight-corrupted dog) in combat — watch how Bloom Arts chain after successful parries
Tested Combos: From Trash Mob to Nushi
Combo 1: "Basic Loop" (Trash mobs, 2-3 enemies)
- Parry first enemy's attack → counter with light sword combo (2-3 hits)
- Parry second enemy → Shakuyaku Blade Art (quick damage, builds stagger)
- If FP ≥ 60%, open command → Higanbana: Bloom (cleans up any remaining)
This loop clears most non-elite groups in under 15 seconds with zero damage taken if your parries are clean.
Combo 2: "Elite Killer" (Single Elite Malefact/Golem)
- Open with bow/ranged poke to get its attention (don't waste approach)
- Parry opening strike → immediate Riposte (counter-attack)
- Parry follow-up → Shakuyaku (now they're building toward Stagger)
- Parry charged attack (big FP gain) → FP should be near 70-80%
- Open command → Sakura: Javelin (lightning applies Shock, they're probably Staggered now)
- Mop up with sword combo while they're Dazed
Combo 3: "Nushi Opener" (First phase of any Nushi fight)
- Nushi enters → do NOT attack immediately. Watch the first 1-2 attack patterns to learn timing.
- Parry the first clearly telegraphed attack (usually a sweep or lunge) → good FP chunk
- Parry second attack → FP should be 40-50%
- Dodge the grab/un-parryable attack (you learned this in step 1)
- Parry third attack → FP 60-70%
- Light sword combo (build Stagger, don't spend Entanglement yet)
- Parry fourth attack → FP 80-90% (Full Bloom incoming!)
- Open command → Higanbana: Bloom (Full Bloom active, massive fire damage)
- Immediately follow with Sakura: Javelin (still in Full Bloom, lightning stacks)
- Sword combo on Dazed/Staggered Nushi → phase 1 health should be 40-50% gone
This opener works against Rangifer, Lacerta, and Taurus with minor adjustments for their specific un-parryable moves. See our Boss Location Guide for Nushi-specific adjustments.
Entanglement Gauge: The Other Resource Bar
If FP is Koo's fuel, Entanglement is Emma's. Here's what spends it and what generates it:
| Action | Entanglement Effect |
|---|---|
| Successful Parry | GAINS Entanglement (small amount) |
| Guard (failed parry) | CONSUMES Entanglement (medium amount) |
| Blade Art activation | Consumes Entanglement (amount varies by art) |
| Entanglement Overdrive | Consumes entire bar for time-slow effect |
| Taking damage (unblocked) | No direct effect, but leaves you vulnerable |
| Time passing (out of combat) | Slow regen (faster with passive upgrades) |
The fix: If you miss a parry and Guard instead, dodge the next attack to break the spiral. Reset your timing. One bad parry doesn't mean the whole fight is ruined — but panicking into repeated Guards will end you.
10 Combat Mistakes I Made So You Don't Have To
- Holding the guard button. Holding = Guarding. Tapping at the right time = Parrying. If you hold, you will NEVER parry. Train yourself to tap.
- Ignoring FP entirely. Some players go entire fights never opening the command menu. That's playing the game on half-power. Koo's Bloom Arts deal 2-3x Emma's sword DPS when used correctly.
- Using Entanglement Overdrive as a panic button. It doesn't make you invincible or deal damage. It just slows time. If you activate it while panicking, you'll burn your entire Entanglement bar and still be in trouble when time resumes.
- Not learning which Nushi attacks are grabs. Every Nushi has 2-3 grab attacks that CANNOT be parried. Trying to parry them = free hit for the boss. Learn them, dodge them.
- Saving Bloom Arts "for later." FP decays. If you end a fight with 80% FP, you wasted it. Better to use it and rebuild than hoard.
- Forgetting Koo exists during Emma-only sequences. Some sections separate you from Koo. These are rare but they happen. Your damage output drops significantly — play more defensively, focus on parries over aggression.
- Not using the bow for poking. Before closing distance, tag enemies with a bow shot. It's free damage, reveals their aggro range, and sometimes triggers them into an easily-parryable opening attack.
- Panicking during Full Bloom. You finally got Full Bloom and your brain goes "BIG DAMAGE NOW" so you mash the first art you see. Slow down. Full Bloom multiplies EVERY art. Pick the right one for the situation.
- Never using Taunt. If Emma is getting wrecked, Taunt makes Koo take aggro. This alone has saved my runs multiple times. It's not "suboptimal" — it's survival.
- Comparing this to Dark Souls parrying. It's not the same. Souls parries have different timing, different rewards, and different risk. Unlearn those muscle memories. BoR parrying is more forgiving on window but punishes Guard much harder.
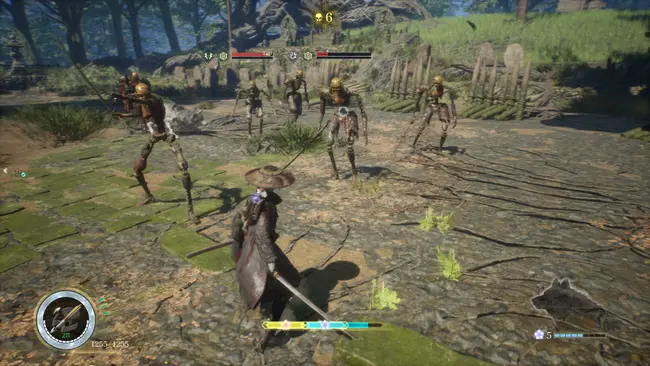
Combat UI overview: Emma's HP (top-left), Koo's companion health (bottom-right), minimap, and enemy targeting