Blight (穢れ): What It Is and What It Isn't
The game throws the word "Blight" at you constantly but never fully explains what it does mechanically. Here's the practical version:
What Blight DOES:
- Spawns Malefacts. The more Blight in an area, the more enemies appear, and the stronger their variants get. Lightly blighted zones = basic Malefacts. Heavily blighted = Elites spawn naturally.
- Creates environmental hazards. Puddles/pools of Blight liquid deal DoT if you stand in them. Some areas have Blight mist that slowly damages you. These cannot be parried or blocked — just move.
- Affects visual atmosphere. Heavily blighted areas are darker, visibility is lower, and the color palette shifts toward sickly greens and purples. This isn't just aesthetic — it can hide enemies.
- Drains Hunger faster. Your Hunger meter depletes more quickly in high-Blight zones. This is the most impactful gameplay effect for exploration.
- Powers up certain enemies. Blight-enhanced Malefacts have extra health and sometimes additional attack patterns.
What Blight DOESN'T Do:
- It doesn't damage you constantly just by being in a blighted zone (only the specific hazard puddles/mists do).
- It doesn't corrupt your saves or skills (story element only).
- It doesn't prevent fast travel (landmarks still work).
- It doesn't make Emma stronger directly — she absorbs it narratively, but mechanically you don't "level up" from being in Blight.
Blight-corrupted Malefacts (like these infected boars) are stronger and more aggressive than normal wildlife. Heavily blighted areas spawn Elites like these.
Hunger Meter: The Resource Nobody Watches
The Hunger meter sits in your UI and most players ignore it until they realize they've been playing at half effectiveness for an hour.
| Hunger Level | Effect |
|---|---|
| 80–100% | Full out-of-combat HP regeneration. Optimal state. |
| 50–79% | Reduced regeneration speed. Still fine for normal play. |
| 30–49% | Slow regeneration. Start looking for food. |
| Below 30% | No regeneration. Stamina recovery penalty. Action cooldowns slightly longer. You're now playing debuffed. |
| Empty | All penalties maximized + periodic damage over time. Find food or a campsite IMMEDIATELY. |
How to Manage Hunger
- Kill things. Most enemies drop food items. Not every kill, but consistently enough that combat-heavy playstyles rarely starve.
- Check containers. Crates, cabinets, and abandoned buildings often contain non-perishable food caches.
- Campsites = full refill. Always rest at a campsite before moving to a new zone, even if your HP is full. The Hunger refill alone is worth the 10 seconds.
- Don't hoard food. It doesn't spoil (as far as we can tell). But carrying 20 food items while starving is pointless. Eat before fights, not after.
Campsite: More Than Just a Save Point
Campsites are the most underutilized mechanic for new players. Here's everything they do:
- HP restored to maximum
- Hunger meter fully refilled
- Status effects cured (poison, acid burn, etc.)
- Game saved (manual save point)
- Nearby enemies respawn (feature, not bug — useful for farming)
- Some timed events reset (merchant Golem inventories, day/night cycles in applicable zones)
Campsite Pro Tips
- Always rest before a Nushi fight. Even if you're at full HP. The Hunger refill alone is worth it, and the guaranteed save prevents rage-quit losses.
- Farm near campsites. If you need Skill Amber or a specific enemy drop, clear the area around a campsite, rest to respawn, repeat. No travel time between runs.
- Dragon Vein Shrines are near campsites. These increase your Stimpack carry capacity. Whenever you find a shrine, note the nearest campsite — that's your new base of operations for the zone.
Spirit Stones & Equipment Mods
Spirit Stones are BoR's version of "gems/runes" — slot them into equipment for permanent passive effects. Here's the beginner-friendly breakdown:
How Mod Slots Work
- Each weapon has 1-3 mod slots (shown in equipment screen)
- Each piece of armor has 1-2 mod slots
- Spirit Stones are consumed when slotted (one-time use per stone)
- You can overwrite existing mods by slotting a new one (old mod is lost)
- Some rare stones have powerful unique effects that can't be found elsewhere
Best Early-Game Spirit Stones
| Stone / Effect | Where to Find | Slot On |
|---|---|---|
| Critical Boost | Ch.1 hidden chest / Merchant Golem | Primary weapon |
| Status Effect Amp | Ch.2 exploration reward | Bloom Art mod slot |
| Vitality Up | Ch.1 Keeper Golem data | Armor |
| Florescence Up | Ch.3 merchant | Any (FP-related) |
| Item Detection | Ch.2 side area | Any (quality of life) |
Zone-by-Zone Exploration Tips
Chapter 1: Ogouchi Buffer Zone ("Seedling")
- This is your tutorial zone. Take your time — there's no rush.
- Cliffside Village has multiple hidden roofs accessible via hair-climb (once you unlock Hair root skills). Check every building top.
- The Disposal Site has a Keeper Golem underground — find it for free exploration data and a Spirit Stone.
- Abandoned Village looks empty but has loot in every house. Systematic room-by-room search pays off.
- Rangifer's lair is at the end of the linear path — you can't miss it, but you CAN (and should) clear the zone fully before entering.
Chapter 2: Ancient Civilization Zone ("Creeping Tendrils")
- Much larger than Ch.1. Verticality increases — bring Climbing Higanbana if you have it.
- Subcity 01 and Subcity 03 are multi-level dungeon areas. Easy to get turned around. Follow the main quest marker if you're lost, then backtrack for secrets.
- The Quarry area has Golem enemies — great for practicing parries on slow, telegraphed attacks.
- Lacerta's zone introduces poison hazards. Don't stand in green pools. Seriously.
Chapter 3: Great Wall Terraces ("The Vessel")
- The Shopping Mall interior is a goldmine for consumables and ammo. Clear every store.
- Nue Malefact encounters start here (flashback + first real fight). This boss is faster than Rangifer — expect to lose once while learning patterns.
- Merchant Golems appear more frequently here. Check each one — inventory rotates and sometimes they sell rare Spirit Stones.
- The Tunnel Ruins have narrow sightlines. Bow attacks shine here.
Chapter 4: Pilgrim's Zone ("Stems")
- Taurus (Lv.26-29) lives here. If you're below Lv.22, consider finishing Ch.3 side content first.
- Mountain Village and Mountain Plaza have the best hidden-item density so far. Use Detect Hidden Item if available.
- The Maze of Sin area lives up to its name. Bring paper and pencil if you're bad with spatial memory (or just follow online maps — no shame).
- Sunrise Sword (fire katana) is found in this chapter. It's excellent against Taurus if you've been struggling with physical damage.
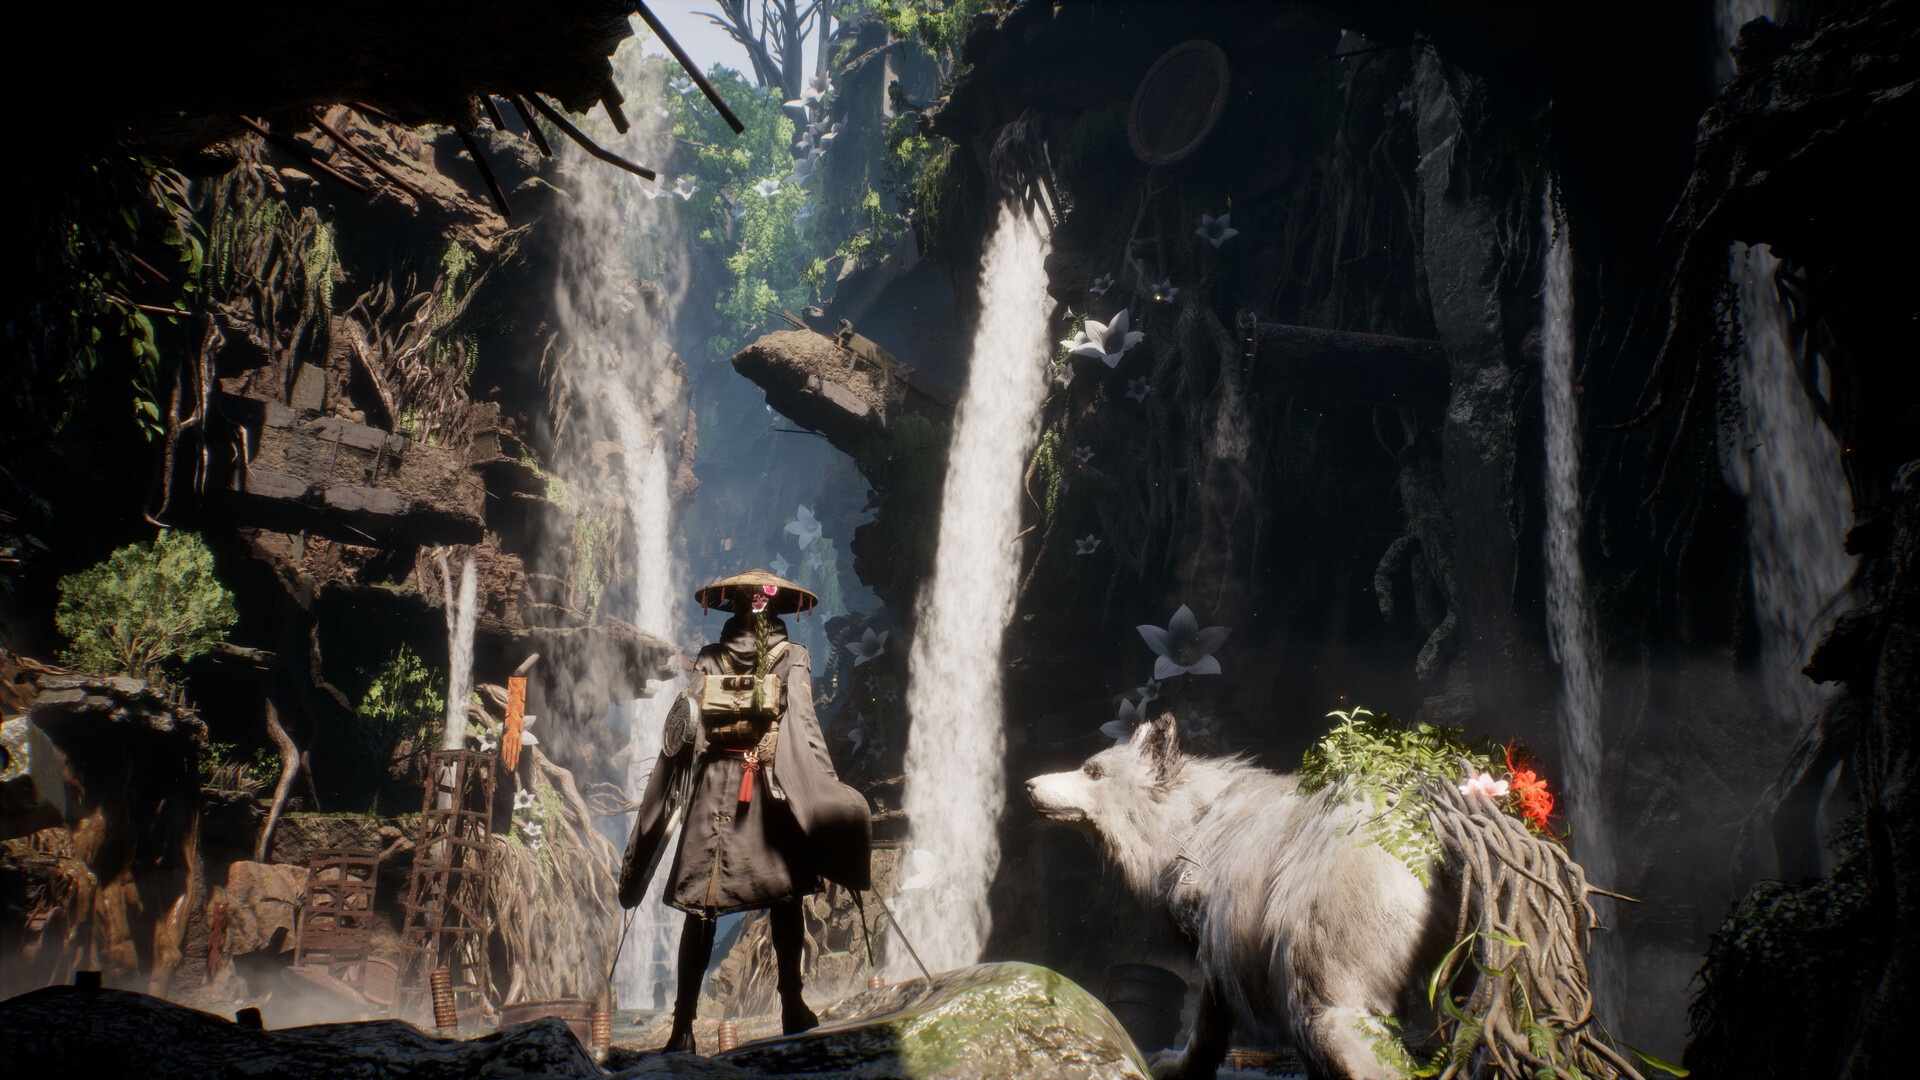
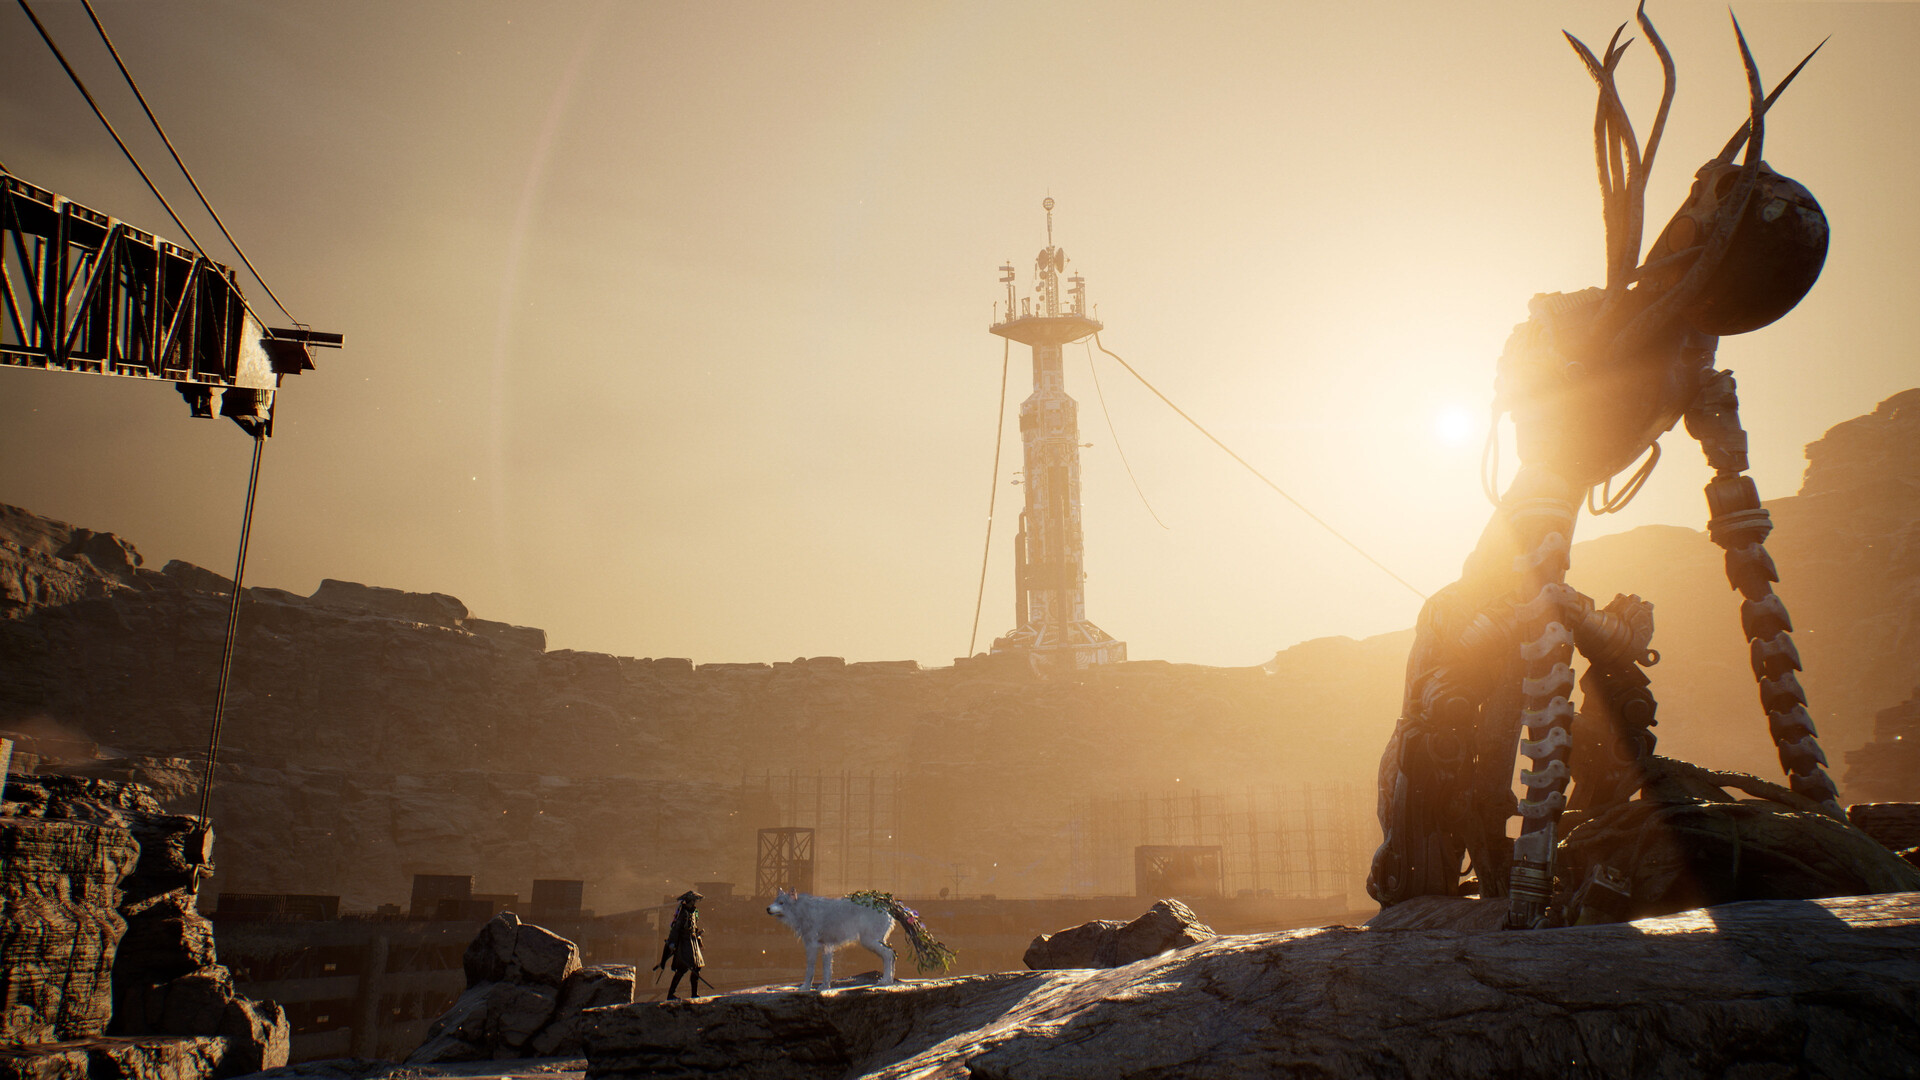
Exploration is key: Blight-free zones like these waterfalls offer safe rest spots. Plan your route around campsite locations.
Exploration Demo: The World of Year 4026
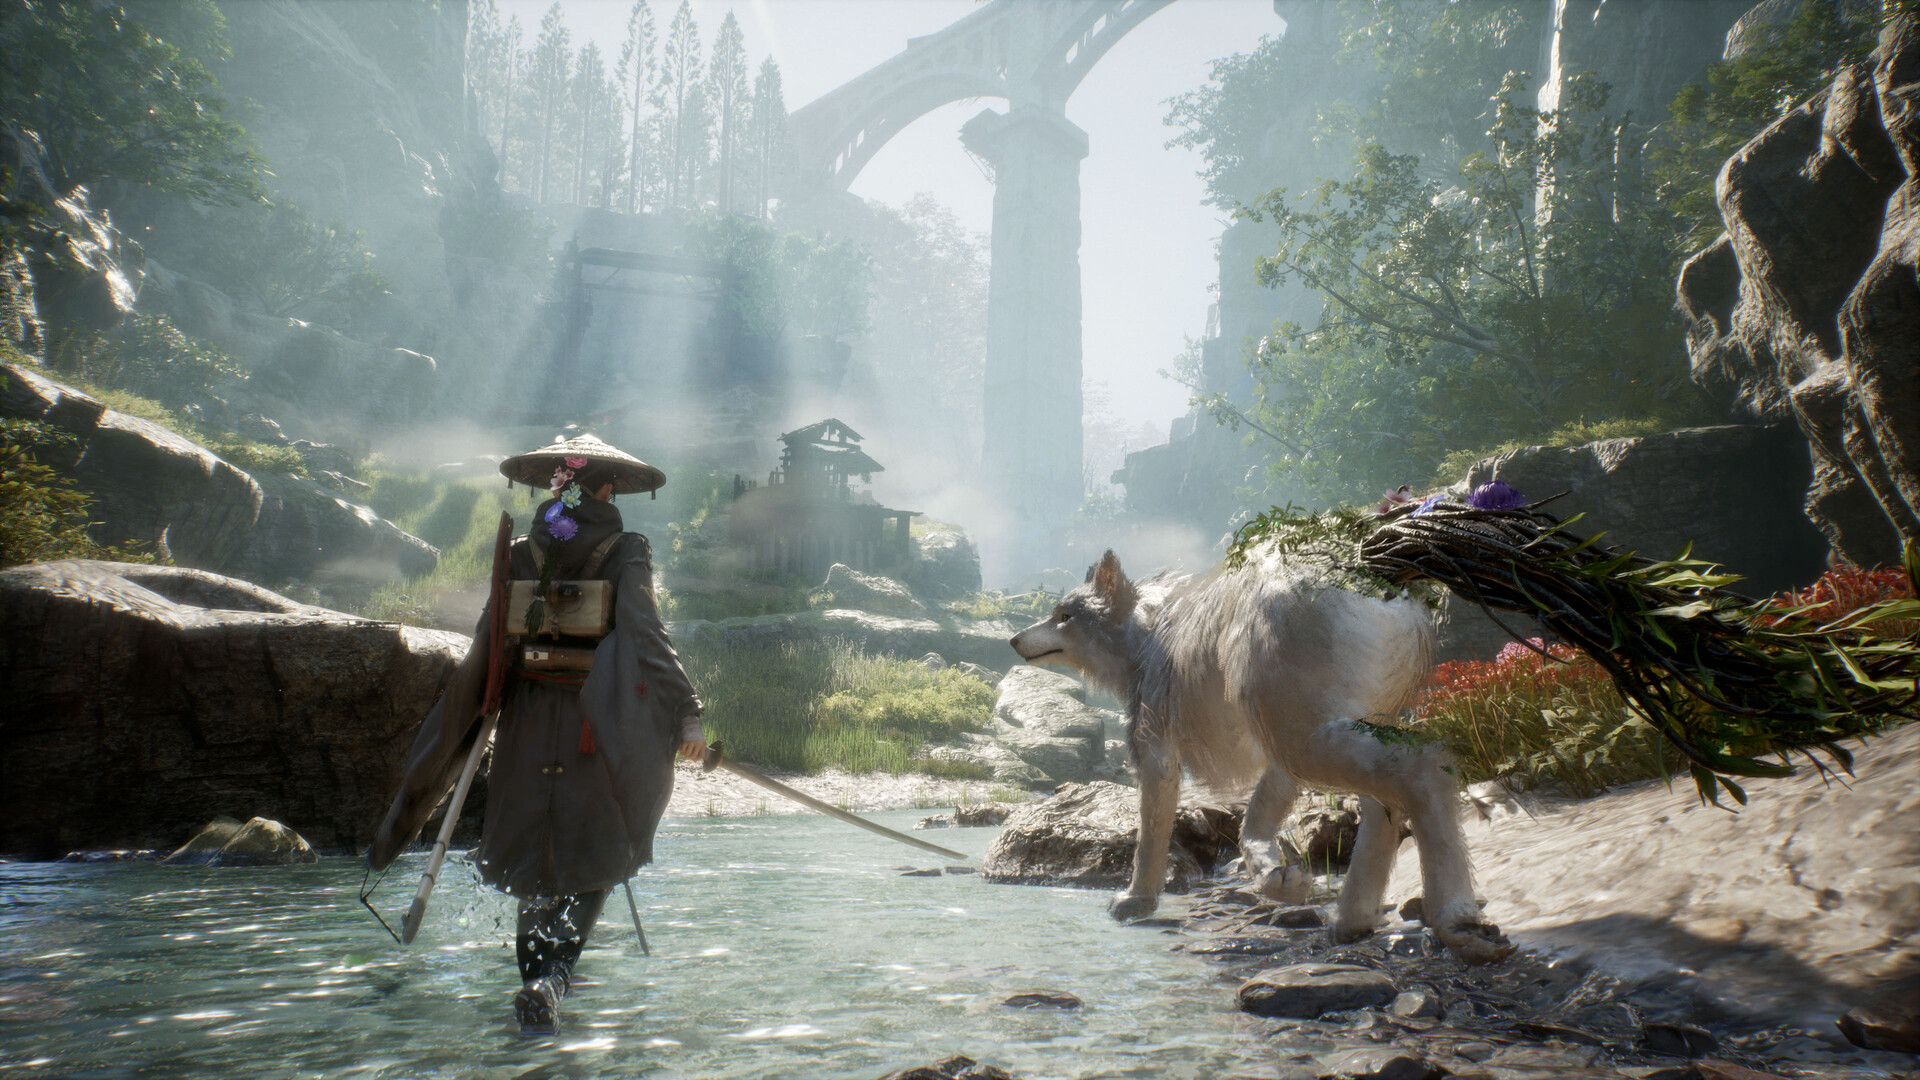
Wading through shallow water toward a distant village — the world shifts between blighted wastelands and beautiful clearings
8 Beginner Mistakes That Made My First Run Harder Than Needed
- Not resting at campsites "because my HP was full." The Hunger refill is equally important. Make camping a habit, not a desperation move.
- Ignoring the bow entirely. "I'm a melee character" — okay, but the bow is free damage before enemies reach you, it triggers aggro on YOUR terms, and it procs Lucky Shot passives. Put it on a hotkey.
- Hoarding Stimpacks "for emergencies." You will hit a hard boss with 0 stimpacks because you were saving them. Use them. They respawn near campsites.
- Running past Keeper Golems. These floating data collectors give you map markers for hidden items. Every one you activate makes future exploration 50% more efficient. Spend the 30 seconds.
- Not reading skill descriptions carefully. Entanglement Overdrive sounds like an ultimate. It's not. Guard sounds like parry. It's not. Read every tooltip.
- Fighting Nushi under-leveled because "I want to progress." Being stuck on a boss for 2 hours isn't progressing. Go clear side content, gain 2-3 levels, come back. It'll take 20 minutes instead of 2 hours.
- Forgetting Koo has utility beyond damage. Taunt, Snatch, Detect Hidden Item, Healing Garden — Koo is a Swiss Army dog, not just a damage turret.
- Not using Cloaking Grass to skip annoying encounters. You don't HAVE to fight every Malefact group on your return trips through cleared zones. Stealth past them and save your resources for what matters.
Red Key & Blue Key: What They Are & Where to Find Them
If you've been exploring and keep running into locked doors with red or blue keyholes, you're not missing anything obvious — these are progression-gated keys that you pick up naturally as you advance through the story. Here's what you need to know so you don't waste hours backtracking.
Red Key (赤鍵)
- First Red Key: Obtained automatically during the main story in Chapter 2 (Ancient Civilization Zone). You can't miss it — it's tied to a story beat after defeating a mini-boss in Subcity 01.
- Second Red Key: Found in Chapter 3 (Great Wall Terraces), inside the Shopping Mall's locked security room on the upper floor. The room itself is blighted — come prepared.
- Pro tip: Red-keyed doors you find in Ch.1 are meant for later return visits. Don't stress if you can't open them yet — note the location and come back after Ch.2.
Blue Key (青鍵)
- First Blue Key: Reward from completing the Keeper Golem data collection chain in Chapter 1. You need to activate at least 3 Keeper Golems in Ogouchi Buffer Zone (the floating eye bots that mark your map). The third one gives you the key.
- Second Blue Key: Inside a hidden chest in Chapter 4 (Pilgrim's Zone), in the Mountain Village area. It's behind a waterfall — use Koo's Sniff Bloom Art to reveal the ledge.
- Common mistake: Players find blue doors in Ch.2/Ch.3 and assume they missed the key in Ch.1. You didn't — some blue keys are found in later chapters and unlock doors in earlier zones. The game expects you to backtrack.
Strongbox Codes, Puzzles & Locked Containers
Scattered throughout Year 4026 Japan are Strongboxes (頑強箱) and code-locked containers that require specific inputs or items to open. These aren't mandatory for story progress, but they're some of the best loot sources in the game — often containing Spirit Stones you can't get anywhere else.
Types of Locked Containers
| Container Type | How to Open | Typical Loot |
|---|---|---|
| Strongbox (4-digit code) | Find the code clue nearby (graffiti, note, environmental hint) | Spirit Stone (rare), Skill Amber, crafting mats |
| Golem-Sealed Box | Needs specific Golem Key item (drops from elite Golems) | Mod-tier equipment, upgrade materials |
| Blight-Sealed Chest | Must clear all Malefacts in the room (they respawn until cleared) | Consumable stash, currency |
| Hair-Lock Platform | Use Emma's Hair-climb ability on the glowing anchor point | Exploration reward, view/loot chest |
Strongbox Code Tips (No Spoilers)
- Codes are ALWAYS visible nearby. Look for notes pinned to walls, numbers scratched into surfaces, or environmental patterns (e.g., the number of statues in a room = the code). The game never hides codes in menus or dialogue — they're always in the world.
- Ch.1 has 2 strongboxes. Both in the Abandoned Village area. One code is written on a whiteboard in the school building. The other is the number of animal figurines on a shelf.
- Ch.2 Subcity areas have the most strongboxes. The office-building sections love 4-digit codes. Check every terminal screen and sticky note — some are easy to miss because they're small.
- You can't brute-force codes. If you enter wrong 3 times, the box locks temporarily (about 5 minutes). Don't waste time guessing.
- Koo's "Sniff" Bloom Art highlights interactables. Including code hints. If you're stuck, activate Sniff mode and look for glowing objects near the locked box.