How the Skill System Works (Short Version)
You're managing two separate skill systems that share one currency (Amber/Skill Amber):
- Emma's Skill Tree — Three roots: Tracking Shot, Hair, and Entanglement Overdrive. Each root branches into Blade Arts (active sword techniques) and passive upgrades. Stats affected: Strength, Vitality, Florescence, Fortitude.
- Koo's Bloom Arts — Commands you issue during combat (Triangle/Y/F button opens the command menu, slowing time). Each Bloom Art costs FP (Florescence Points) earned from parrying. Bloom Arts can be customized with Mods.
- Nushi Skills — Bonus abilities unlocked by defeating Nushi bosses. These feed into BOTH systems: some add Blade Arts for Emma, others add Bloom Arts for Koo.
Emma's Skill Tree: Root-by-Root Breakdown
Root 1: Tracking Shot (Recommended First Pick)
This is your bread-and-butter damage tree. It focuses on Emma's ranged capabilities and reliable melee damage output.
| Tier | Skill | Type | Why It's Good |
|---|---|---|---|
| S | Shakuyaku | Blade Art (Physical) | Your primary single-target damage dealer. Fast animation, good stagger buildup, works on everything. Max this first. |
| A | Enhance Bow | Passive | Bow damage + draw speed. Makes exploration much safer since you can plink enemies before they close distance. |
| A | Lucky Shot | Passive | Critical hit chance boost. Stacks well with Shark Cutter weapon and Crit Boost Spirit Stone. |
| B | Iaido | Blade Art | Quick draw slash. Good for closing gaps but situational — you usually want to be in melee range already when using Blade Arts. |
| B | Attack Dog | Passive | Buffs Koo's damage during co-op attacks. Nice synergy but not a priority over Emma's own damage. |
| C | Expand Entanglement Gauge | Passive | Larger pool is nice but you should be spending Entanglement, not hoarding it. Low priority. |
Root 2: Hair (Mobility & Utility)
Emma's hair isn't cosmetic — it's a combat tool. This root controls her movement abilities and stealth options.
| Tier | Skill | Type | Why It's Good |
|---|---|---|---|
| S | Cloaking Grass | Blade Art / Utility | Stealth option. Lets you bypass enemy groups, set up ambushes, or disengage from bad situations. Insanely useful for exploration. |
| A | Sprout Shakuyaku | Blade Art | Ranged hair-based variant of Shakuyaku. Gives you damage at range when you can't safely get close. Pairs perfectly with Enhance Bow. |
| A | Climbing Higanbana | Mobility | Vertical movement upgrade. Access to higher ground = better positioning for both combat and exploration secrets. |
| B | Helm Splitter | Blade Art | Armor-breaking overhead strike. Good against Heavy Golem types but most regular enemies don't have enough armor to justify the slow windup. |
| C | Roll | Mobility | Dodge roll upgrade. Useful if your parry timing isn't consistent yet, but you should be learning to parry instead of dodging long-term. |
Root 3: Entanglement Overdrive (Late-Game Investment)
| Tier | Skill | Type | Why It's Good |
|---|---|---|---|
| A | Entanglement Gauge Recovery | Passive | Faster regen between encounters. Quality of life improvement that adds up over long sessions. |
| B | Recovery Effect Boost | Passive | Better healing from Stimpacks. Situational — only worth it if you find yourself burning through consumables constantly. |
| B | Extend Blade Effects | Passive | Longer weapon buff durations. Synergizes well with status-inflicting blades like Dokuzeri (poison). |
| C | Entangled Follow Up | Blade Art | Follow-up attack after Overdrive. Damage is mediocre given the setup cost. Skip unless you're building specifically around Overdrive. |
Koo Bloom Arts: Loadout Recommendations
Koo's commands are issued through the command menu (slows time when open). Each Bloom Art costs FP. Here's what to equip based on your playstyle:
Loadout A: "Fire & Lightning" (Balanced DPS)
The all-rounder that works in 90% of situations. Good single-target + AoE coverage.
- Higanbana: Bloom (starting) — Fire damage AoE. Your bread-and-butter. Cheap FP cost, good for groups.
- Sakura: Javelin (unlocked after Rangifer) — Lightning single-target. High damage, applies Shock status. Use on Nushi and Elites.
- Healing Bouquet — Emergency heal. Keep this equipped always. Koo's heals scale with FP, so use during Full Bloom for maximum effect.
Mods: Status Effect Amp + Full Bloom Crit + Magmatic Mantle (for Higanbana)
Loadout B: "Tank & Control" (Survival-Focused)
For players who struggle with survival. Trades raw damage for crowd control and sustain.
- Taunt — Koo draws aggro. Huge for getting enemies off Emma when she's low.
- Lay Landmine / Lay Flame Trap — Zone control. Force enemies into positions where you can parry them consistently.
- Healing Garden — AoE heal over time. Paired with Photosynthesis passive, this creates a sustain loop.
Mods: Battleborn + Last Stand + Healing Energy
Loadout C: "Destructive Burst" (Boss-Killing)
Maximizes burst damage against Nushi and Elite enemies. Requires good FP management.
- Kiku Bloom Arts (post-Ch.2) — Destructive-type. Breaks guards and shatters armor. Essential for Taurus and later Nushi.
- Sakura: Javelin — Lightning for shock-stacking.
- Snatch — Item theft from enemies. Less combat utility but the extra resources add up.
Mods: Full Bloom Crit + Resonance (if available) + Rapid Cooling
Mod Tier List (What to Slot)
| Tier | Mod | Best On | Note |
|---|---|---|---|
| S | Status Effect Amp | All Bloom Arts | Universal damage increase. Always slot if you have it. |
| S | Full Bloom Crit | Damage Bloom Arts | +crit during Full Bloom mode. Massive DPS multiplier when timed right. |
| A | Poison Expert | Dokuzeri builds | Poison DoT amp. Niche but devastating on poison-heavy loadouts. |
| A | Battleborn | Survival builds | Damage reduction at low HP. Saves runs more often than you'd expect. |
| A | Last Stand | Survival builds | One-time death prevention. Once-per-encounter safety net. |
| B | Magmatic Mantle | Higanbana | Fire resistance + fire damage boost. Good but element-specific. |
| B | Rapid Cooling | Burst builds | Reduces cooldown between Bloom Arts. Better once you have 3+ arts. |
| C | Healing Energy | Healing Bouquet/Garden | Only worth it if you're running double-heal loadout. |
Recommended Progression Path (Chapters 1–6)
| Chapter | Prioritize | Why |
|---|---|---|
| Ch.1 (Ogouchi) | Shakuyaku → Lucky Shot → Higanbana Bloom | Establish your core damage loop before Rangifer fight |
| Post-Rangifer | Sakura: Javelin → Enhance Bow → Sprout Shakuyaku | Add lightning damage + ranged option for Ch.2 |
| Ch.2-3 | Cloaking Grass → Climbing Higanbana → Healing Bouquet | Mobility + sustain for harder zones |
| Post-Lacerta | Kiku Bloom Arts → Helm Splitter → Taunt | Destructive options for armored enemies |
| Ch.4-5 | Critical Boost → Extend Blade Effects → Detect Hidden Item | Min-max damage + quality of life |
| Ch.6+ | Entanglement Overdrive passives → Nushi Skills | Late-game optimization |
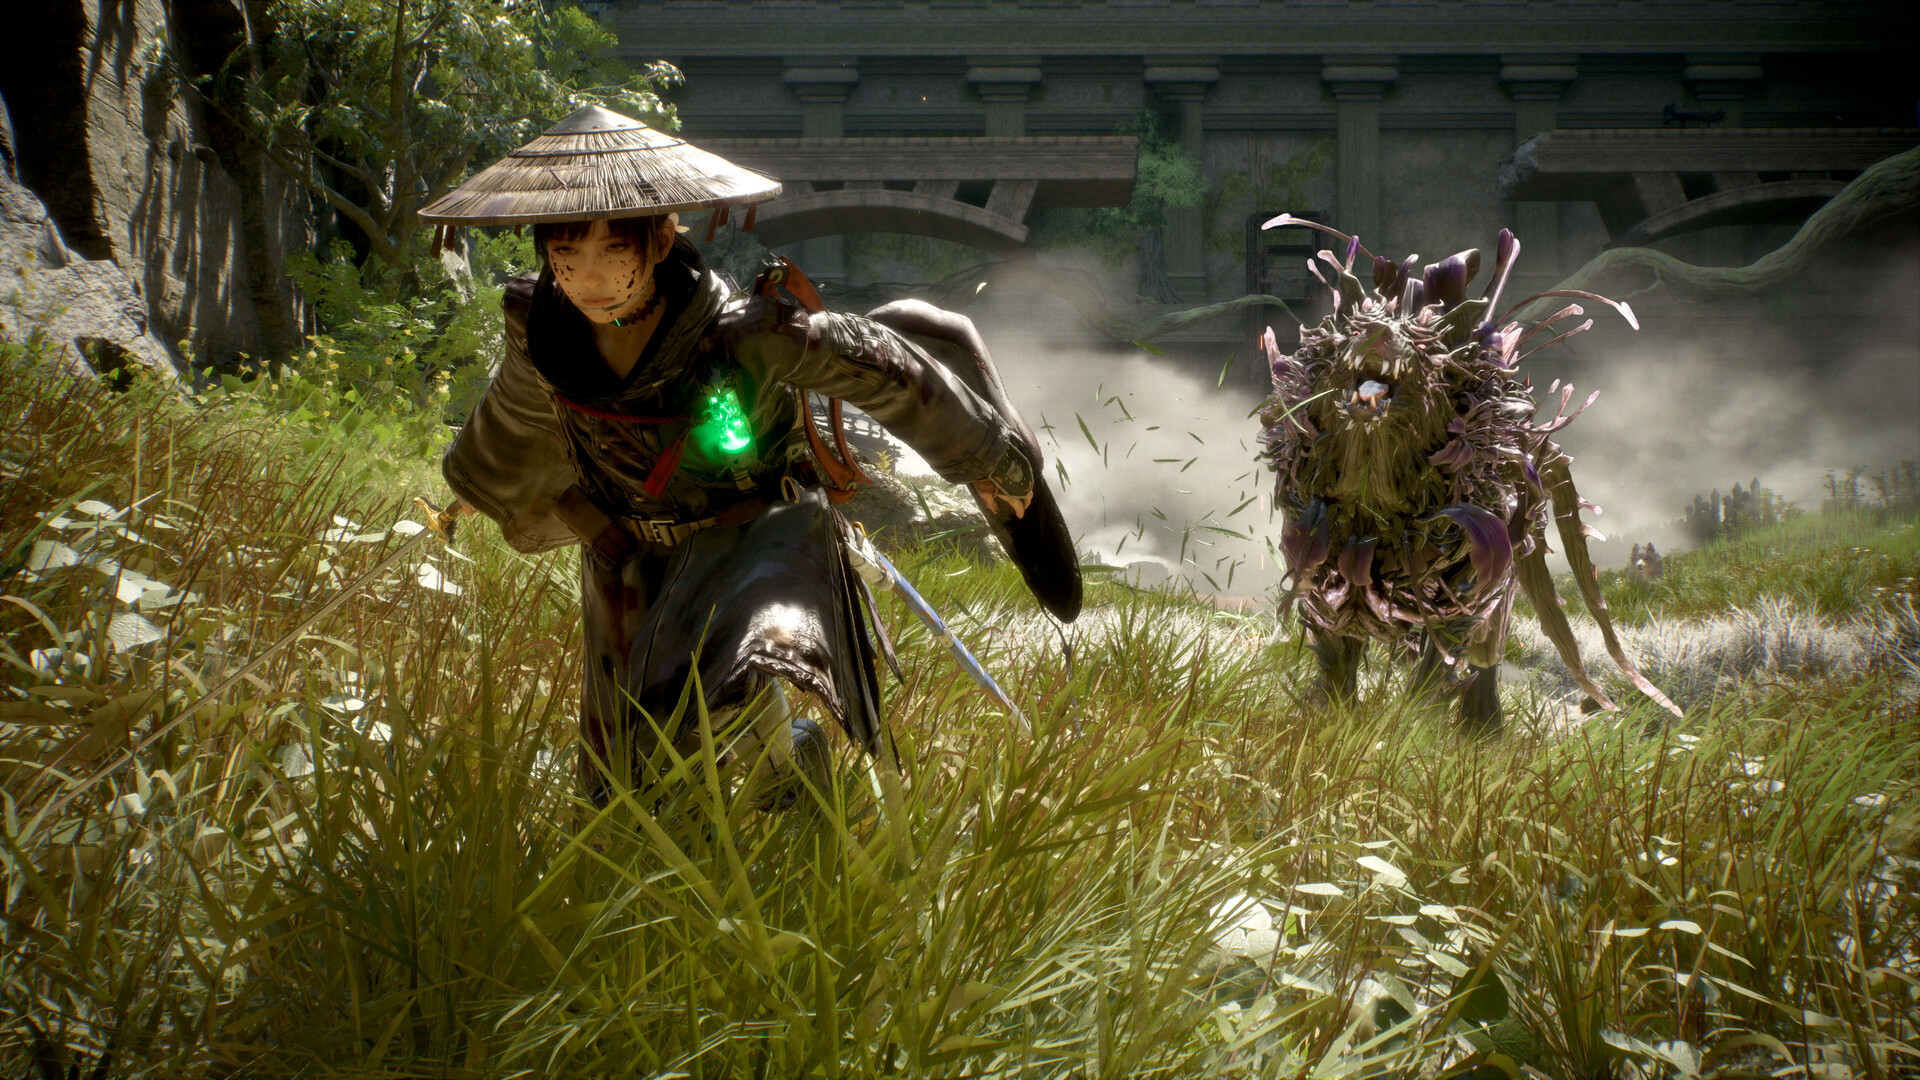
Emma with Bloom Arts active (green chest glow) fighting alongside Koo — showing the dual-character combat system
Build Mistakes That Ruin Runs
- Overinvesting in Entanglement Overdrive early. It looks cool (time slow!) but the FP cost is brutal and the payoff is minimal until you have the supporting passives. Treat it as a Chapter 8+ investment.
- Ignoring Healing Bouquet. "I'll just use Stimpacks" — except Stimpacks are limited and you'll run out in Nushi fights. Koo's heal is free (costs FP, which you generate by parrying). Always keep one heal equipped.
- Spreading points across all three roots evenly. Jack of all trades = master of none. Pick Tracking Shot as your primary, dip into Hair for key utilities, save Overdrive for last.
- Forgetting that Nushi Skills exist. Every Nushi you defeat adds to your toolkit. Some Nushi Skills are strictly better than base tree skills. Don't sleep on these rewards.
- Not respeccing when your playstyle changes. Started as a bow user but now realize you love parry-melee? Respec. Amber respawns aren't infinite but neither is your patience with a build that doesn't match how you actually play.